- Return to book
- Review this book
- About the author
- Introduction
- 1. Android
- 2. TDD with Robolectric
- 3. Architecture
- 4. Fundamentals
- 5. Resource System
- 6. Managing the Lifecycle
- 7. Lab: Calculator
- 8. Appendix
- 9. Epilogue
- 10. About The Author
- 11. Bibliography
Lab: First Test
Let's write our first test!
Step 1: Create test file
I use the IDE to generate a test in the correct folder. Open CalculatorActivity.javaand place your cursor on the name of the class.
Use the Mac key combination Command + Shift + T to create the test for this class.
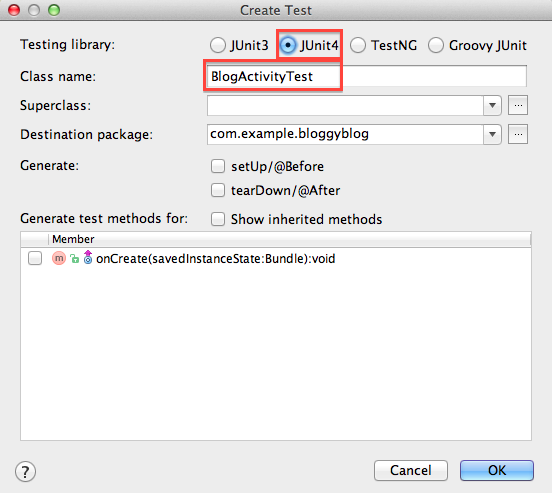
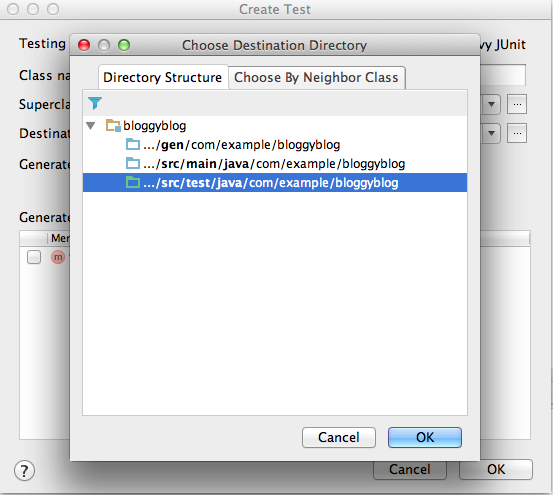
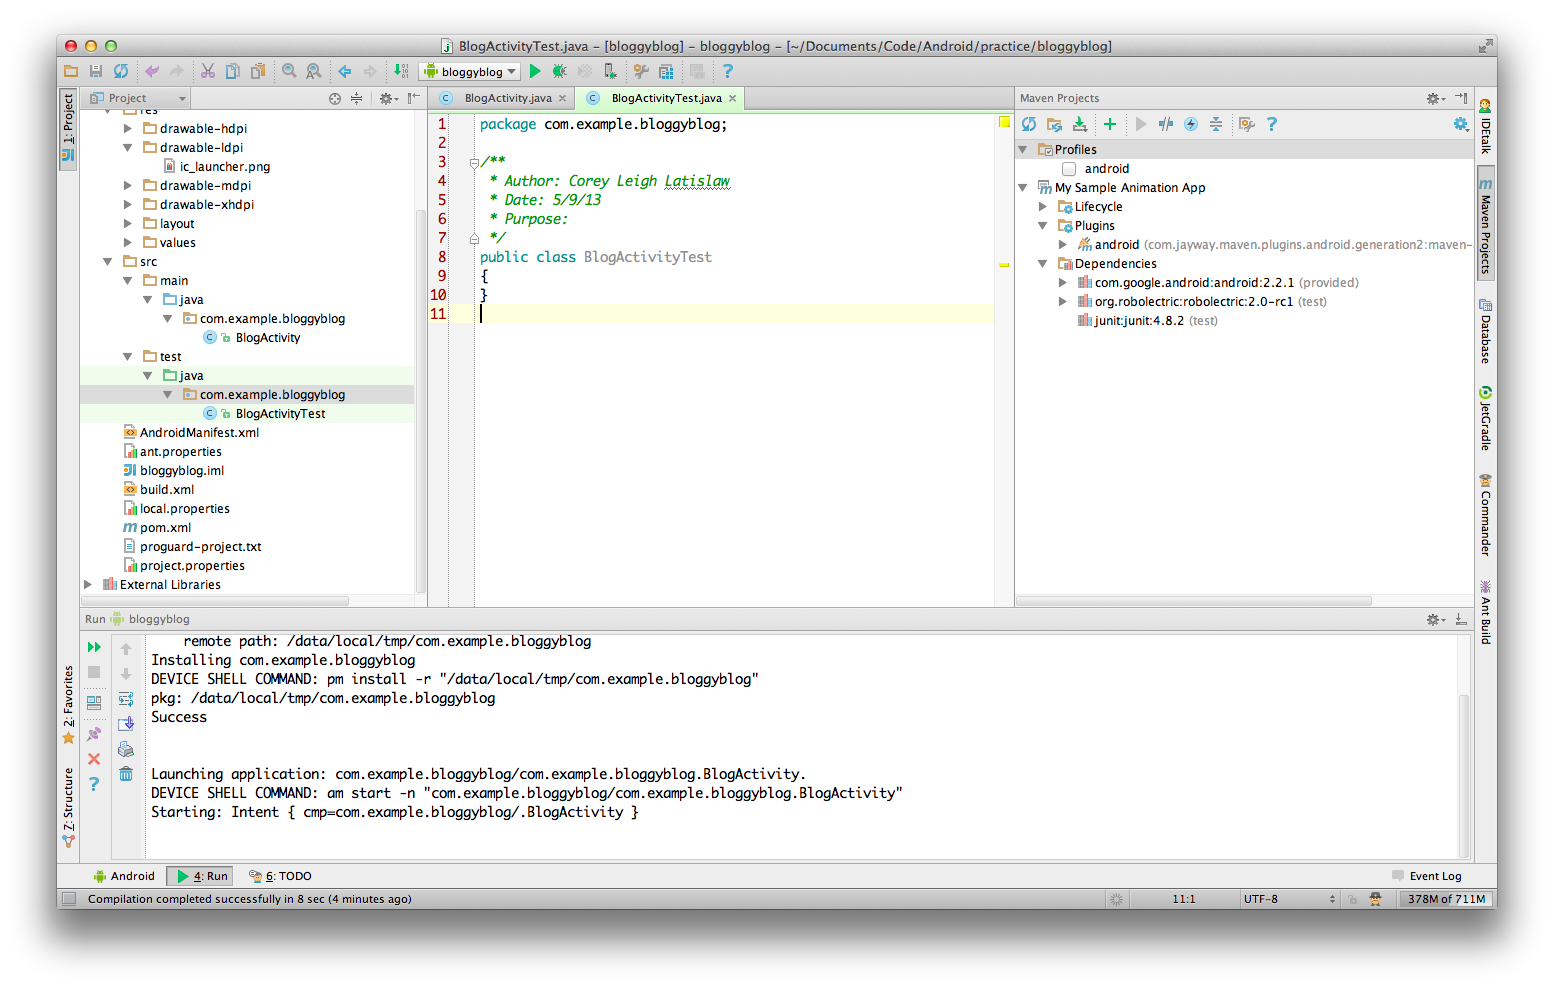
Step 2: Test runner
We need Robolectric's help to run our tests. Add this line above the test class name and import associated classes.
@RunWith (RobolectricTestRunner.class)
Step 3: Set up
Add a field for the activity under test so that we can access it in all of the tests in this class.
CalculatorActivity activity;
Then use setUp() to populate our field.
@Before
public void setUp() throws Exception
{
    activity = Robolectric.buildActivity( CalculatorActivity.class )
                          .create()
                          .start()
                          .resume()
                          .get();
}
We use the Robolectric lifecycle management functions to build and start an activity. The last function call, get(), returns a test instance that you can use to verify various aspects of the activity's view and behavior.
Note: The calls to
create(),start(), andresume()reference the different phases of Android's activity lifecycle. This will be covered in detail in Chapter 6: Managing the Lifecycle.
Step 4: Test
Write a test for the activity.
@Test
public void shouldNotBeNull() throws Exception
{
    assertNotNull( activity );
}
Step 5: Create a run config for all tests
You could run each test individually as you work with new classes, however it should be a common task to run all the unit tests (e.g. prior to commit). I create a run configuration for the whole project. Let's create a run configuration that will run all the tests at once.
First, choose "Edit Configurations ..." from the "Run" drop down menu.
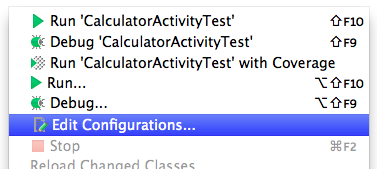
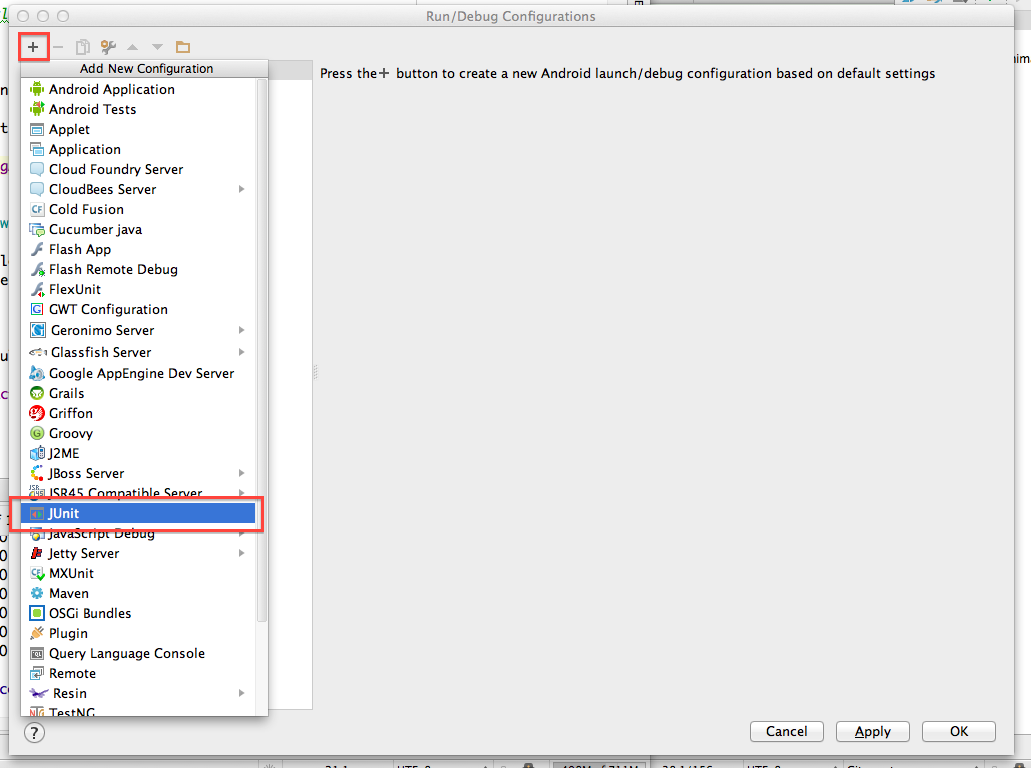
Then, hit the + button and choose JUnit.
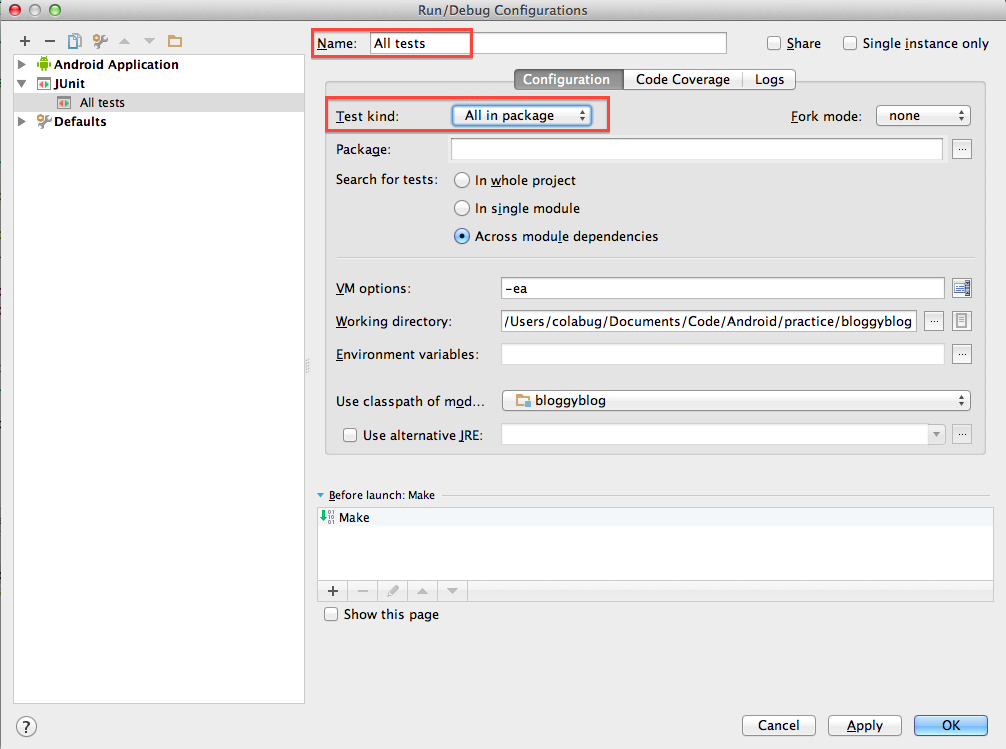
Then select, "All in package" and give your configuration a descriptive name.
Step 6: Run
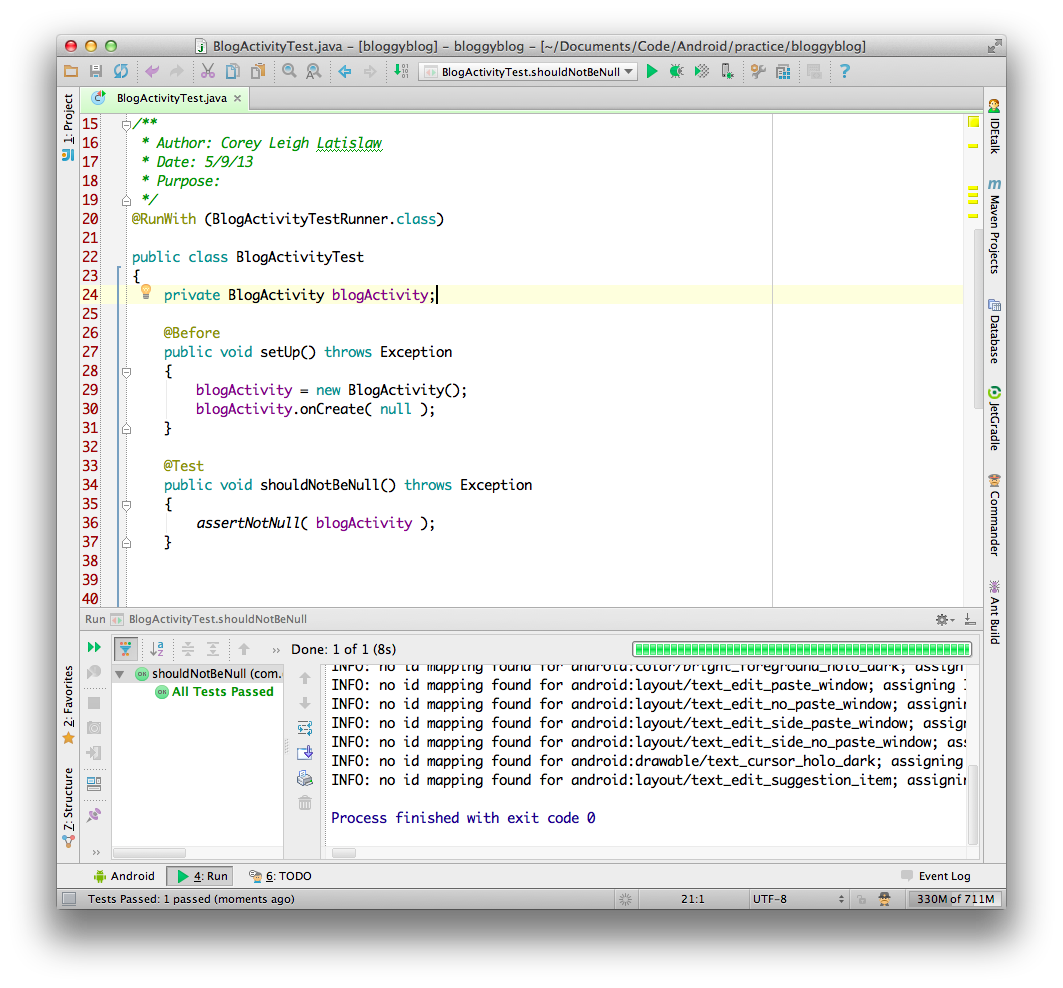
Use the run configuration created in the previous step to ensure our tests pass.
If you forgot step 2, you'll see this error message:
java.lang.RuntimeException: Stub!
    at android.content.Context.<init>(Context.java:4)
    at android.content.ContextWrapper.<init>(ContextWrapper.java:5)
    at android.view.ContextThemeWrapper.<init>(ContextThemeWrapper.java:5)
    at android.app.Activity.<init>(Activity.java:6)
    ...
In the future, you can right click on the test file name or a method name to run a test, use a keyboard shortcut, or run them from the command line with mvn clean install.
If you are still seeing issues, rebuild your project a few times to convince IntelliJ to generate the R.java file (which links to all your applications resources) and/or run mvn install from the command line.
Step 7: IntelliJ git integration
We can use IntelliJ's tools or the command line to commit our changes to a git repository. This step shows you details for the IDE route.
First we want to tell IntelliJ that we will be working in a git repository. Use the drop down menu VCS -> Import into Version Control -> Create Git Repository to complete this step.
TODO: Insert image
After we have integrated git, let's view our current change set. Use the drop down menu VCS -> Show Changes View to see our current changeset.
TODO: Insert image
Before we commit, we need to make sure that we're happy the files listed in our change set. There are several files we should ignore, including IntelliJ's project files located in the .idea/ folder, the .iml file for your project, and the gen/ directory (used behind the scenes during the build process). Let's use IntelliJ's tools to do this within the IDE.
TODO: Insert image
Note: The IntelliJ wizard adds a few files we won't need since we're not using the ant build tool. We can safely delete these files inside the IDE by right clicking on the file and selecting delete. These files are
ant.properties,build.xml,project.properties,local.propertiesand thebin/directory.
Note: We also remove
proguard-project.txtfor the time being. If proguard is desired for your project, you can configure it using this file.
Once we're happy with the change set, let's commit. You should always review the files and changes you're about to commit after passing all project tests.
TODO: Insert image
Now let's talk about what to test!
References
- Adapted and expanded: Latislaw, C. August 3, 2012. Integrating Robolectric with IntelliJ. Retrieved from http://chariotsolutions.com/blog/post/integrating-robolectric-with-intellij/.